Current and voltage are two of the most basic measurements that must be taken for troubleshooting electronics and electrical components. We interact with them daily, and many take them for granted. Knowing how to measure these values is essential for anyone who works with electronics and electrical systems, from technicians and engineers to hobbyists. And this is where a digital multimeter comes along into our lives.
What is a Digital Multimeter?
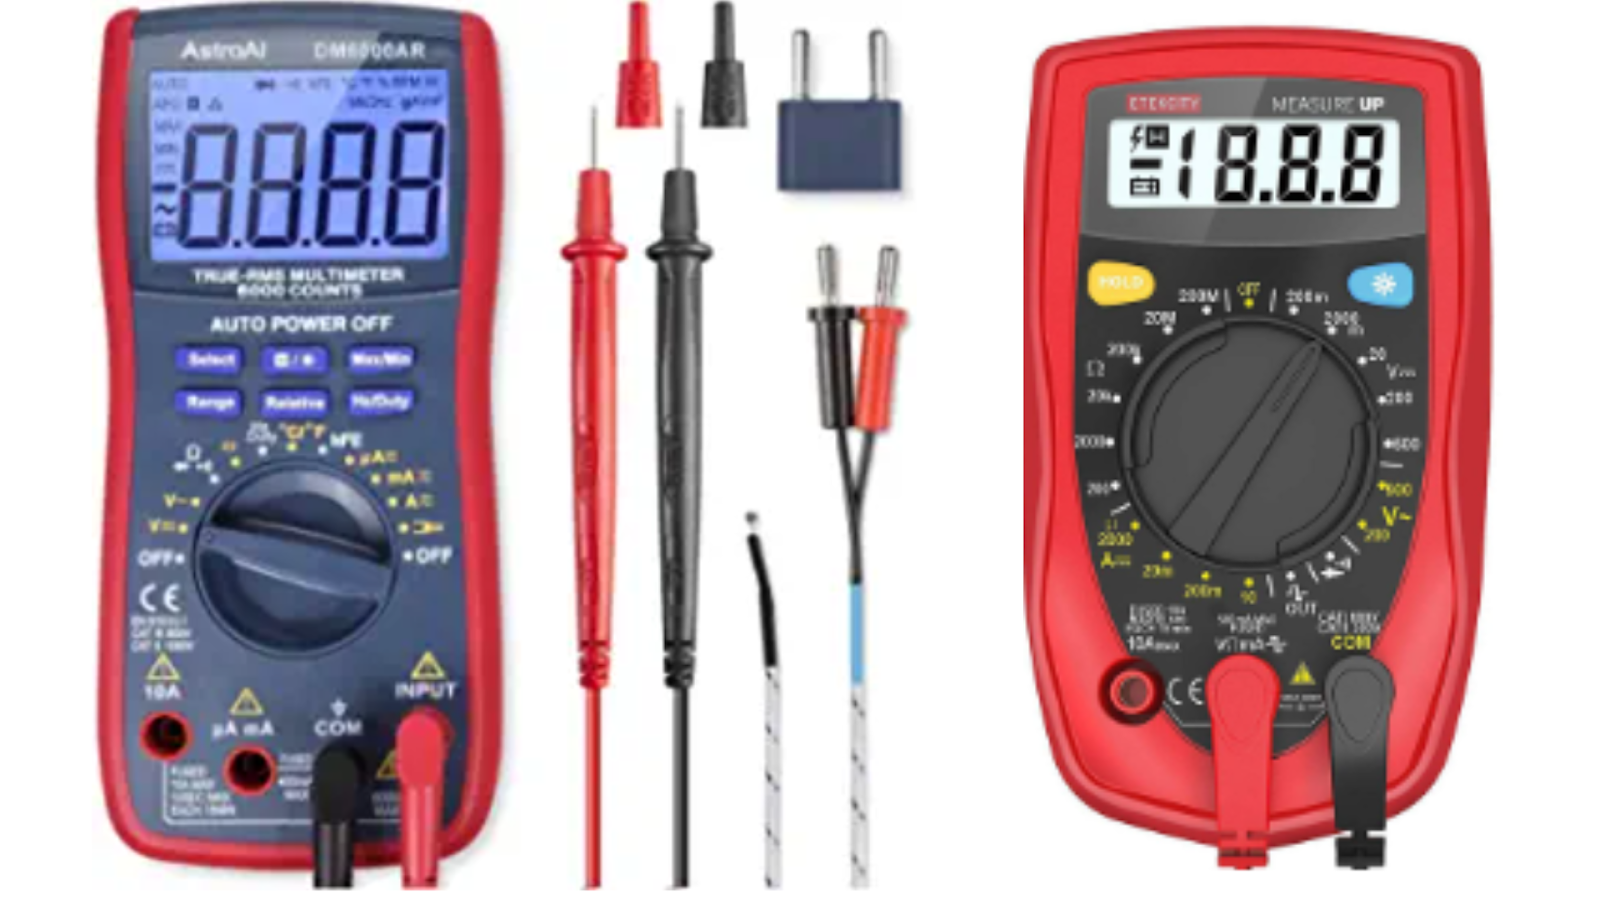
A digital multimeter (DMM) is a device used to measure many electrical parameters, such as voltage, current, resistance, and capacitance. It is a combination of multiple analog meters; hence it is called a multimeter. Unlike analog meters, digital multimeters provide a digital readout of the measured value. They are used in various applications, from troubleshooting home electronics to industrial maintenance and design.
The Applications of a Digital Multimeter
A digital multimeter is essential for any technician who deals with electronics and electrical systems. If it is your first time using a multimeter, you can do the following:
1. Measure the voltage, current, and resistance on a circuit
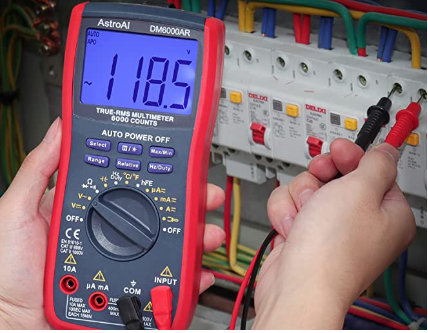
If you’re troubleshooting a circuit, you can measure voltage, current and resistance to detect any problems. By testing the components of a circuit with a digital multimeter, you can determine what needs repair or adjustment.
2. Check continuity on a circuit
A digital multimeter allows you to check the continuity of a circuit. This is done by measuring resistance and ensuring it follows the expected pattern. If there’s an open circuit or a short, the continuity test can detect it.
3. Measure the amperage on a circuit
By measuring the circuit’s amperage, you can ensure that it is working safely and not drawing too much power. If the circuit is drawing too much current, you can use a digital multimeter to diagnose the problem and determine what needs to be fixed.

4. Test batteries
A digital multimeter can be used to test the performance of a battery. By measuring voltage, you can determine if the battery is holding a charge or needs to be replaced.
5. Troubleshoot automotive electrical systems
You can use a digital multimeter to diagnose and troubleshoot electrical systems if you’re working with a car or other motor vehicle. The most common applications include testing alternator output, starter current draw, and battery voltage. You may also use a multimeter to test for shorts or opens in the wiring harnesses of a vehicle.

6. Measure frequency and duty cycle
If you’re dealing with a device that operates on alternating currents, you can measure the frequency and duty cycle of the current with a digital multimeter. This is incredibly useful if you’re designing or tweaking electronic devices, as the frequency and duty cycle will affect how the device operates. You can also use this function to measure the rate of vibration for machines and other devices that involve rotational motion.
How to Use a Digital Multimeter
After purchasing your digital multimeter, you will need to learn how to use it to ensure its accuracy when measuring. Below are the steps to follow when using a digital multimeter.
1. Connecting the Probes
Connect the probes of your multimeter to the device or circuit you are looking to measure. Most multimeters have two identical probes, a red and black one. The red probe is typically used as the positive lead, while the black probe is the negative lead. Depending on what you are measuring, attach the probes correctly.

2. Selecting the Mode
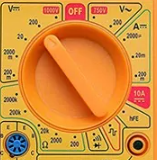
Using the multimeter’s mode selector switch, choose which type of measurement you are trying to make. For instance, set the switch to “V” if you measure voltage. You can also measure amperage (A), resistance (Ω), or other parameters. You can achieve this by spinning the mode selector switch on the multimeter’s front side.
3. Setting the Range (optional)
Choose an appropriate range for your measurement using the range selector. This is important, as you don’t want your multimeter to have too low of a range if the value you are looking for is too large. When in doubt, choose a higher range, as this will give you more accuracy in your measurement.
4. Taking the Measurement
Once you have selected the range, put the probes on your device and press the “Measure” button. Your digital multimeter will then display the result of your measurement. You must be accurate when taking the measurement and use two hands to hold the probes. If the result is not within your set range, adjust your range and repeat.

5. Recording Your Data
Once you have taken your measurement, record the data in your notebook or another form of documentation. This is important so that you can refer back to it anytime.

6. Displaying Statistics
If you want to review statistical information, such as the minimum and maximum measurements that were taken over time, press the “Statistics” button. This will allow you to see important information about your readings.
7. Done
And that’s it! Once you’re done, disconnect the probes from your device and put away the multimeter. Now you know how to use a digital multimeter and can confidently measure voltage, current, resistance, and other parameters. You can use the values you collected to complete your project or determine the issue with your electronic device.
Read More: 10 Best Laptops for Gaming and Programming
Conclusion
A digital multimeter is an invaluable tool for any technician and electrician. Its manoeuvrability and easy-to-read display provide accurate readings to ensure that electrical systems work properly and safely. Digital multimeters allow for greater accuracy than analog and can measure various parameters, including resistance, capacitance and voltage. With the ability to measure current and frequency, they can also be used to troubleshoot a wide range of electrical problems.